UI만들기2
레벨텍스트
- 게임화면에 레벨을 표시하는 텍스트UI를 만들어보겠습니다.
- Canvas 아래에 UI-Legacy-Text 를 추가해줍니다.
- 이름을 Level로 바꾸고 Anchor를 화면 상단의오른쪽에 맞춰줍니다.(Alt+Shift)
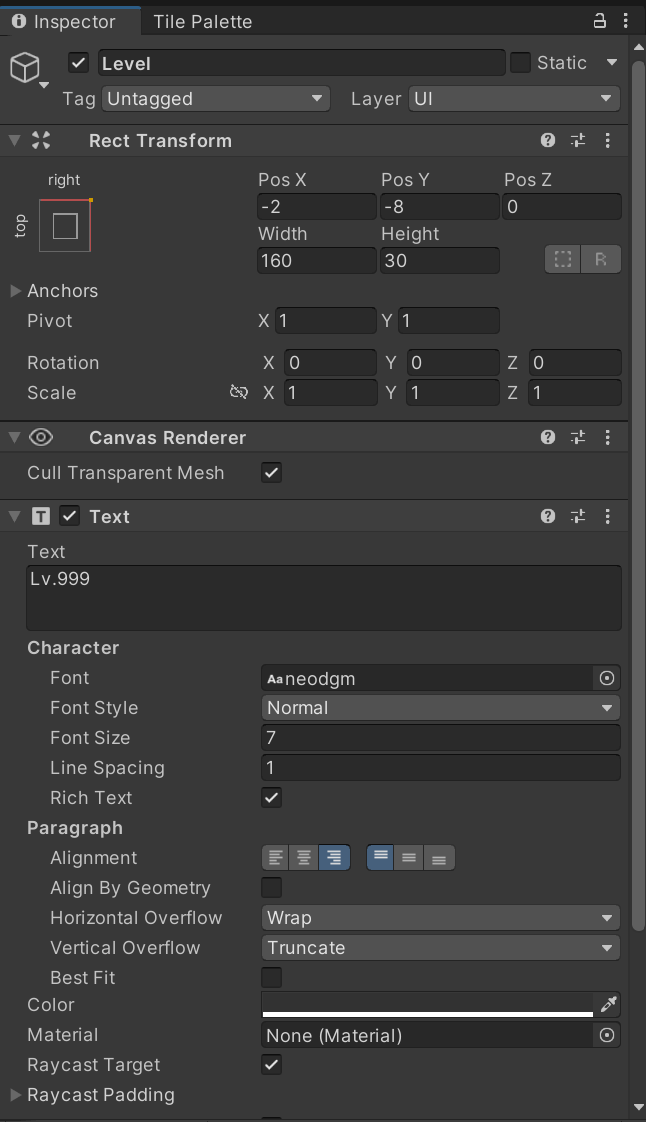
- 그리고 다음과 같이 설정해줍니다. Text가 너무 게임화면끝에 붙어있어서 X,Y 포지션을 약간씩 여유를 주었고, 글배치를 오른쪽정렬로 바꿨습니다.
- 폰트는 프로젝트의 Font 파일에 무료 폰트가 있으므로 게임에 맞는 폰트로 바꿔줍니다.
- Text는 간단하게 Lv.999와 같이 표시하도록 바꿔줬습니다.
킬수텍스트
- 킬수는 골드메탈님께서 이미지도 하나 만들어두셨습니다.
- UI-Image를 추가하고 프로젝트 Sprites-UI 폴더에 Icon0 파일을 Image에 넣어줍니다.
- 이미지가 매우크게 나올텐데, Image 인스펙터창에 보면 Set Native Size라는 버튼이있습니다. 눌러서 이미지의 원래크기로 만들어줍니다.
- Anchor는 좌측 상단으로 잡았습니다.
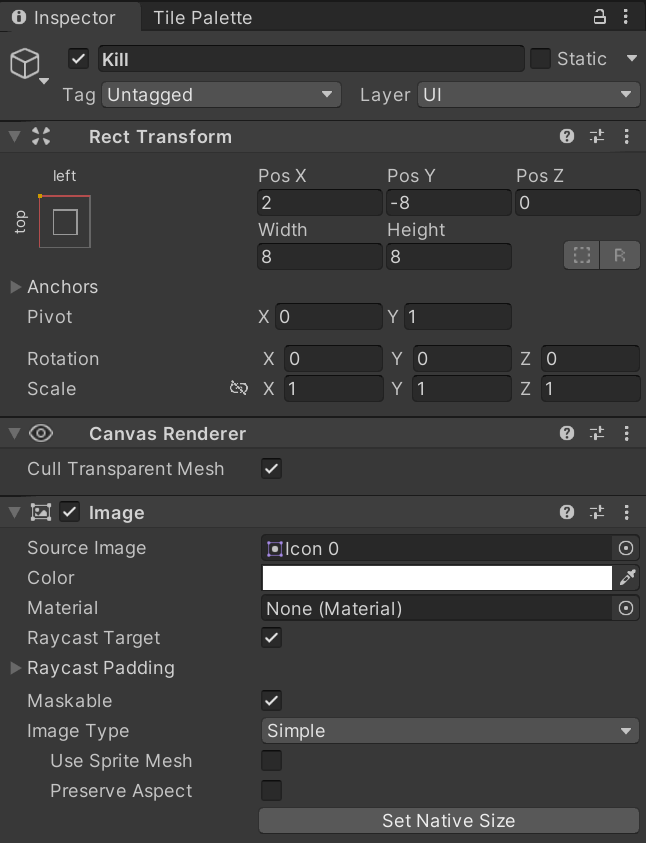
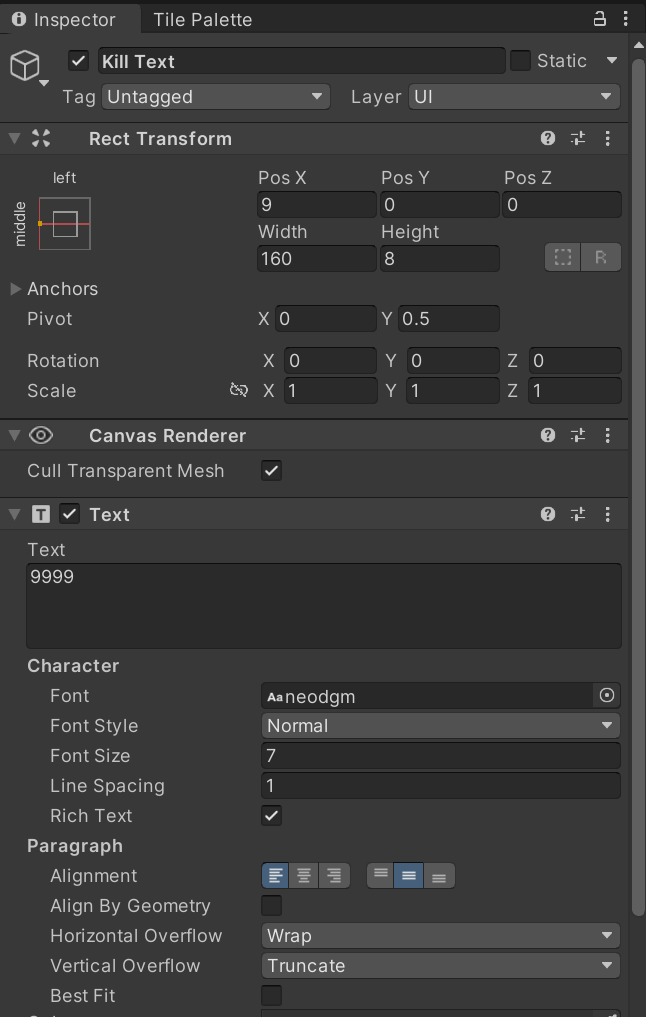
- 이제 텍스트를 넣어주기위하여 아까 만들어둔 Level UI를 Ctrl+D 하여 복사한 뒤 Kill UI 아래에 넣어줍니다. 이름은 Kill Text로 했습니다.
- Anchor는 좌측중앙으로 잡았고, 여유는 아래처럼 주었습니다.
HUD.cs
using System.Collections;
using System.Collections.Generic;
using UnityEngine;
using UnityEngine.UI;

public class HUD : MonoBehaviour
{
    public enum InfoType { Exp, Level, Kill, Time, Health }
    public InfoType type;

    Text myText;
    Slider mySlider;

    void Awake()
    {
        myText = GetComponent<Text>();
        mySlider = GetComponent<Slider>();
    }

    void LateUpdate()
    {
        switch (type)
        {
            case InfoType.Exp:
                // .. 현재경험치 / 최대경험치
                float curExp = GameManager.instance.exp;
                float nextExp = GameManager.instance.nextExp[GameManager.instance.level];
                mySlider.value = curExp / nextExp;
                break;
            case InfoType.Level:
                // .. {0} 의미 : 인자 값의 문자열이 들어갈 자리를 {0}번째.
                myText.text = string.Format("Lv.{0}", GameManager.instance.level);
                break;
            case InfoType.Kill:
                myText.text = string.Format("{0}", GameManager.instance.kill);
                break;
            case InfoType.Time:

                break;
            case InfoType.Health:

                break;
        }
    }
}
타이머 텍스트
- Level UI를 Ctrl+D 하여 복사합니다. 이름은 Timer로 바꾸었습니다.
- Anchor는 위쪽중앙에 위치하도록 하였습니다.
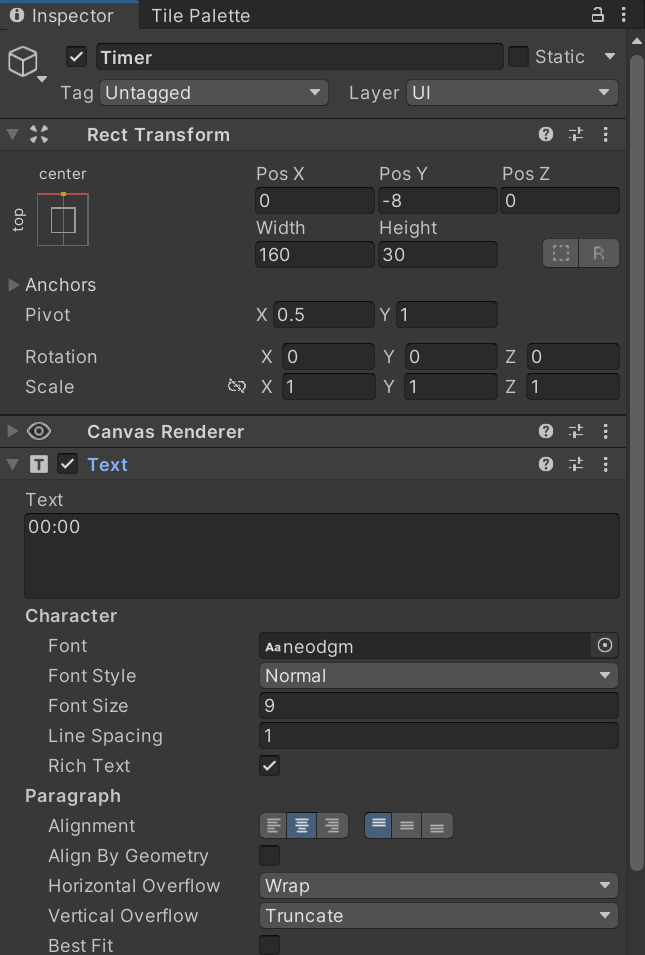
- 그 다음, HUD.cs에 다음 내용을 추가합니다.
case InfoType.Time:
                // .. 남은시간
                float remainTime = GameManager.instance.maxGameTime - GameManager.instance.gameTime;
                int min = Mathf.FloorToInt(remainTime / 60);        // .. 분 계산
                int sec = Mathf.FloorToInt(remainTime % 60);        // .. 초 계산
                myText.text = string.Format("{0:D2}:{1:D2}", min, sec);
                break;
- {0:D2}:{1:D2} 의 뜻은, 0번째에 min을, 2자리로 표시, 1번째에 sec을 2자리로 표시라는 의미입니다.
체력게이지
- Canvas 아래에 Create Empty하여 빈 오브젝트를 추가합니다. 이름은 Hp로 했습니다. Width 12 Height 4
- 미리 만들어뒀던 Exp UI를 복사하여 Hp 아래에 넣어줍니다. 이름은 HpSlider고 Anchor는 우측하단에 꽉차도록 설정했습니다. Height 4 Pos y -12
- 골드메탈님이 체력게이지바에 대한 스프라이트를 만들어주셨습니다. Sprites - UI - Back1, Front1를 각각 HpSlider의 background와 fill에 넣어줍니다.
GameManager.cs 수정
using System.Collections;
using System.Collections.Generic;
using UnityEngine;

public class GameManager : MonoBehaviour
{
    // ... 매니저 인스턴스를 어디서든 접근 가능하게 함
    public static GameManager instance;

    [Header("# Game Object")]
    public Player player;
    public PoolManager pool;

    [Header("# Game Control")]
    // ... 게임 시간과 최대게임시간 변수
    public float gameTime;
    public float maxGameTime = 2 * 10f;

    [Header("# Player Info")]
    // ... 체력, 레벨, 킬수, 경험치, 다음레벨에 필요한 경험치
    public int health;
    public int maxHealth = 100;
    public int level;
    public int kill;
    public int exp;
    public int[] nextExp = { 10, 30, 60, 100, 150, 210, 280, 360, 450, 600 };


    void Awake()
    {
        instance = this;
    }

     void Start()
    {
        health = maxHealth;
    }

    void Update()
    {
        gameTime += Time.deltaTime;

        if (gameTime > maxGameTime)
        {
            gameTime = maxGameTime;
        }
    }

    public void GetExp()
    {
        exp++;

        if(exp == nextExp[level])
        {
            level++;
            exp = 0;
        }
    }
}
- health, maxHealth 변수를 추가했습니다.
- Start 함수에서 현재체력을 최대체력(100)으로 만들어줬습니다.
HUD.cs 수정
case InfoType.Health:
                // .. 현재체력 / 최대경험치
                float curHealth = GameManager.instance.health;
                float maxHealth = GameManager.instance.maxHealth;
                mySlider.value = curHealth / maxHealth;
                break;
Follow.cs
- 이대로 실행해보면 체력바가 플레이어를 따라다니긴하는데 이상한것을 볼 수 있습니다.
- 왜냐하면 World상의 Player 좌표와 Screen 상의 UI 좌표가 다르기때문입니다.
using System.Collections;
using System.Collections.Generic;
using UnityEngine;

public class Follow : MonoBehaviour
{
    RectTransform rect;

    void Awake()
    {
        rect = GetComponent<RectTransform>();
    }

    void FixedUpdate()
    {
        // .. UI의 포지션과 월드(플레이어)좌표를 동기화해줌.
        rect.position = Camera.main.WorldToScreenPoint(GameManager.instance.player.transform.position);
    }
}
- 체력바의 슬라이더에 Follow.cs를 붙여줍니다. Follow.cs는 슬라이더 위치를 플레이어 위치를 따라다니게 해줍니다.


댓글남기기